
I will never forget the look of my kitchen, and I thought that I would have had to spend $15,000 and hire someone to fix it. As it turned out, I was all wrong. Knowing how to paint my kitchen cabinets changed the appearance of my whole kitchen for less than 300 dollars, and I did it myself within a long weekend.
I understand that you have been delaying this project because you feel it will be overwhelming. And this is the fact: the painting of cabinets cannot be compared to some kind of skill, it is more about patience and using the appropriate products. This guide walks you through everything I learned from painting three kitchens (including two for friends who are now converts to DIY cabinet painting).
Table of Contents
Why Paint Your Kitchen Cabinets?

Kitchen cabinet paint gives one of the best paybacks on any DIY project. You are looking at an estimated of $200-400 worth of materials as compared to $5,000-15,000 worth of replacement cabinets. That math sold me down the line.
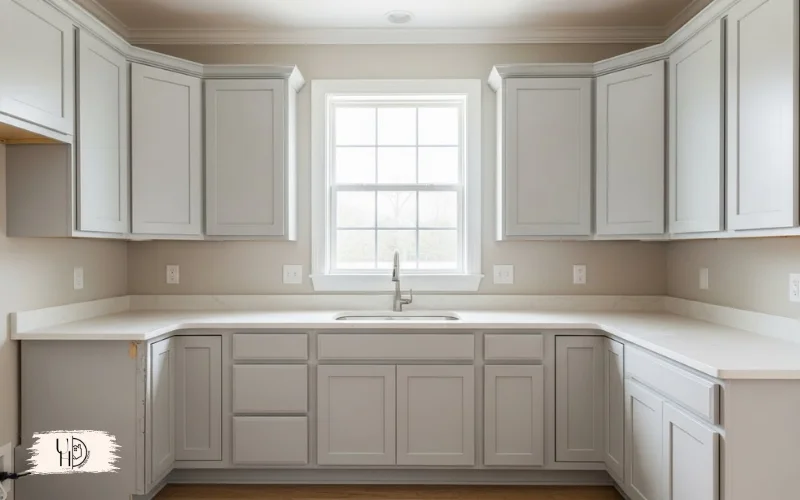
In addition to the savings, painted kitchen cabinet allows one to transform the feel of a kitchen altogether. These Honey oak cabinets of 1998? By the weekend they can get crisp white or attenuated navy blue. The change actually stuns the individuals- my mother-in-law believed that we had replaced the cabinets completely.
Can You Paint Kitchen Cabinets Without Sanding?
Yes, and I’ve done it successfully twice. Painting cabinets without sanding isn’t a shortcut or a compromise—it’s actually the preferred method for many professional painters now Its secret consists of two products, namely liquid deglosser and bonding primer.
To have the paint to adhere correctly, the surface of the cabinets is chemically eroded (also known as liquid sandpaper). In conjunction with a high-adhesion primer, you will not need the dusty and tedious sanding process at all. I applied this technique on thermofoil cabinets which would otherwise have been ruined through the use of traditional sanding.
When you might still need to sand: You may have to sand specific sections of your cabinets; especially when they are peeling, having deep scratches, or are highly damaged. You don’t sand all over–you sand problem areas only.
The Best Paint for Kitchen Cabinets
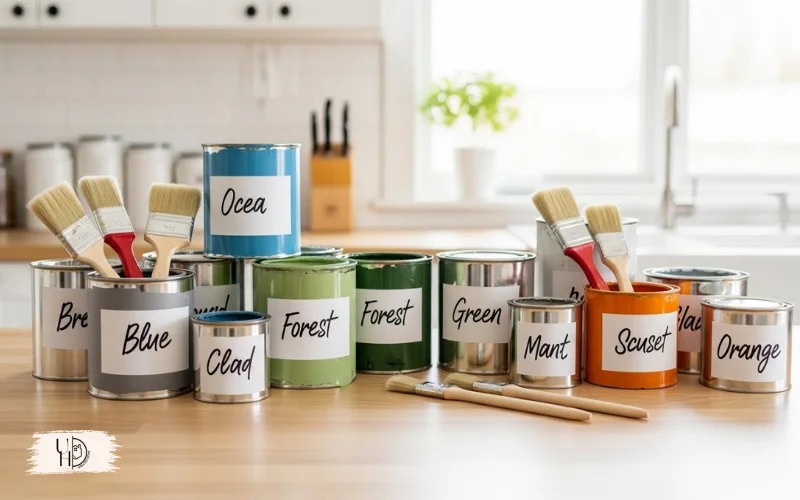
My trial with various brands (and a miserable flop with standard latex wall paint) has led me to the certain conclusion: Benjamin Moore Advance is worth all the money. Yes, it’s pricier at $70-90 per gallon. However, this waterborne alkyd formula cures to a furniture grade and rock-solid finish that is withstands day-to-day abuse.
Budget-friendly alternative: Behr Alkyd Semi-Gloss Enamel does surprisingly well for two times as cheap. I applied it to the cabinets of my friends who have rented a house, and it has stood the test of time in two years of tenants in and out.
Paint finish matters too. Semi-gloss is the best on kitchen cabinets, it is durable enough to wash off with a scrubbing, and yet does not show all the fingerprints as high-gloss paint. In kitchens, matte finishes are not suitable; they are too easy to stain.
Materials You’ll Need for DIY Cabinet Painting
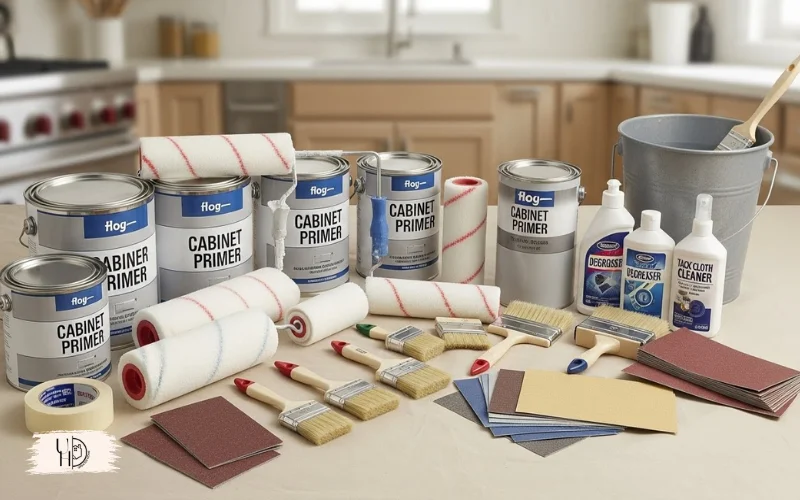
Before starting, gather everything. Nothing kills momentum like a mid-project hardware store run. Here’s my tested supply list:
- TSP or degreaser cleaner
- Liquid deglosser (Jasco works great)
- Bonding primer (Zinsser BIN or Kilz Adhesion)
- Cabinet paint (alkyd enamel recommended)
- 2-inch angled brush
- 4-inch foam rollers
- Painter’s tape
- Plastic bags and markers for hardware
- Drop cloths
- Fine-grit sandpaper (220 grit) for between coats
Step-by-Step: How to Paint Kitchen Cabinets
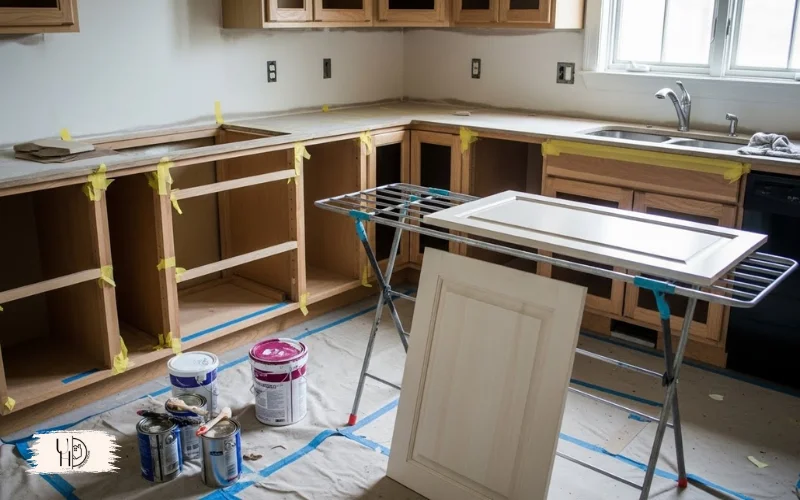
Step 1: Prep Your Kitchen
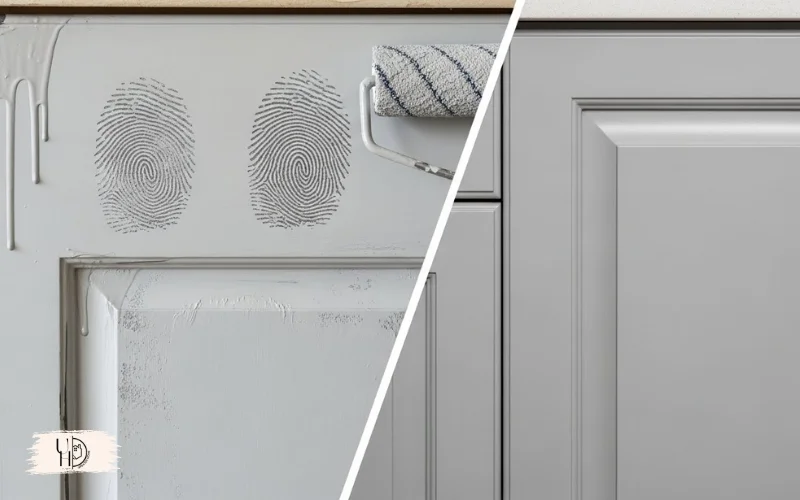
This is the step that distinguishes an amateur job of paint work and a professional one. Clean out all the cabinets. Take out all doors, drawers and hardware. I put on all the painter tape work and a marker, the placing of doors, where the hinges are, where the hardware will be placed.
Store hardware in labeled ziplock bags. Believe me, you will be glad during reassembling.
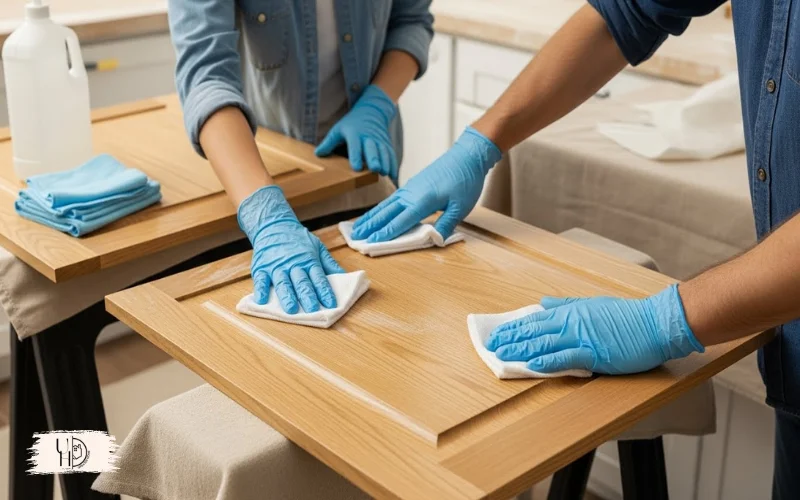
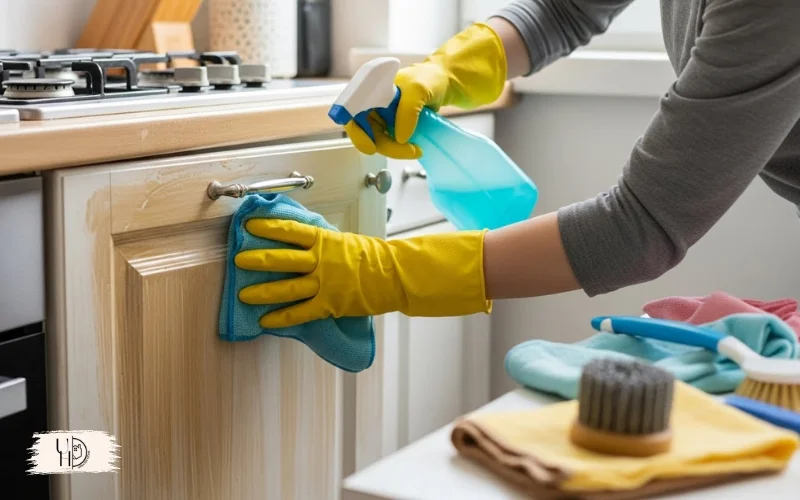
Step 2: Clean Everything Thoroughly

In kitchen cabinets, the years of grease, cooking residue and grime are found that the paint will not be able to lay on. Apply TSP ( trisodium phosphate ) or powerful degreaser particularly around corners and near the stove. I wash it off with a green Scotch-Brite pad then dry it off with a wet rag.
This isn’t optional. I skipped thorough cleaning on my first cabinet project and dealt with paint peeling within six months. Learned that lesson the expensive way.
Step 3: Apply Deglosser (Skip Sanding!)

Add deglosser into a container and wipe it off using lint-free rags or paper towels. Stations, wiping down all surfaces per instructions of product. The deglosser creates a chemical bond that helps paint adhere without traditional sanding.
Wear chemical-resistant gloves—this stuff is effective because it’s strong.
Step 4: Prime the Cabinets
Primer is essential even when your paint boasts of paint and primer in one. The bonding layer that renders cabinet paint durable is developed by a special bonding primer. I apply either shellac-based Zinsser BIN to problem surfaces or Zinsser Bulls eye 1-2-3 to standard wood cabinets.
Use foam roller when applying on flat surfaces and brush when it comes to the edges and details. Allow to dry thoroughly (1-2 hours) and then lightly sand with the 220-grit sandpaper to knock off bumps or drips.
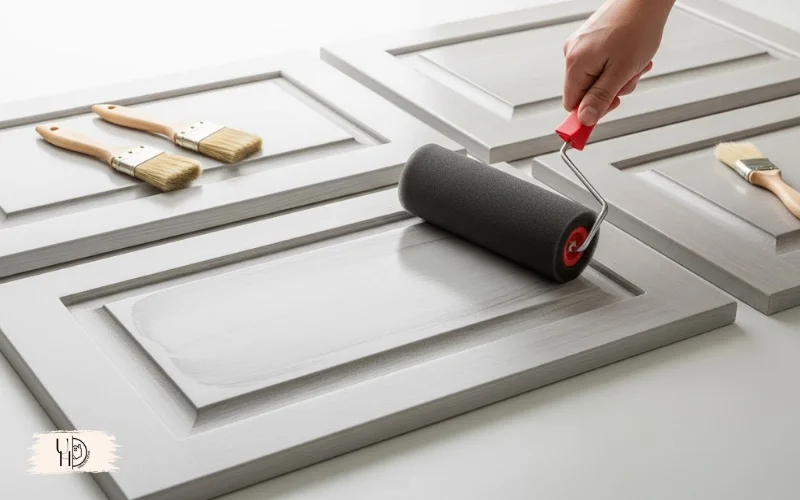
Step 5: Paint Your Cabinet Doors

Here’s where technique matters. Smear and not work thick coats, but smear two or three thin coats each time as many as thick coats. Heavy paint drips, forms in corners and takes ages to dry correctly.
Start with the backs of doors first (if painting both sides). Once dry, flip and paint the fronts. For cabinet frames, work top to bottom. Use a foam roller for flat panels and brush the edges and recessed areas.
Pro tip: Painter’s pyramids let you flip doors without waiting for one side to fully cure. They’re a $10 game-changer.
Step 6: Sand Between Coats
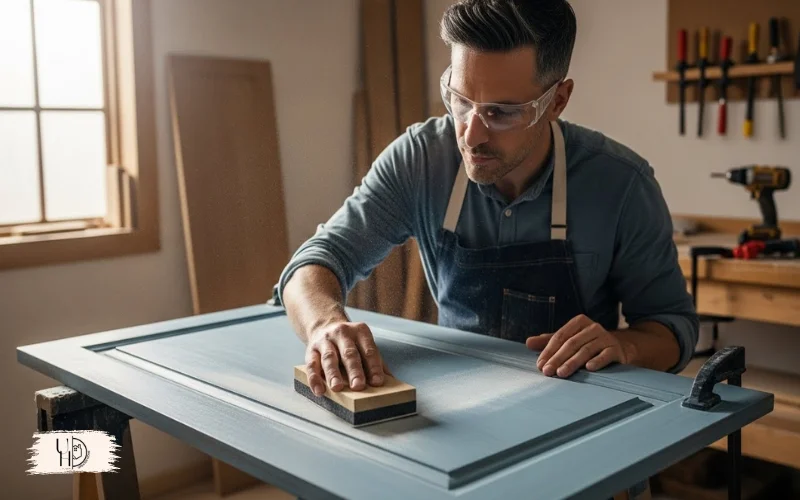
When the initial coating has dried, run a piece of 220-grit sandpaper over all parts. It is not sanding up–you are just putting a slight coat of sandpaper on the next coat. Cleanse off all dust prior to the application of coat two.
Step 7: Allow Proper Curing Time
This is where most DIYers (including past me) mess up. Dry and cured are totally different. One can feel dry within a few hours but full hardness and therefore curing will take a period of 7-14 days depending on your product.
During this time, be careful of your new painted cabinets. There should be no hanging of heavy things, scrubbing or banging of doors. The paint will be grateful as it will not chip.
Common Cabinet Painting Mistakes to Avoid
I’ve made most of these mistakes so you don’t have to:
- Rushing between coats. Impatience causes tackiness and fingerprints. Follow the manufacturer’s recoat times exactly.
- Skipping primer. Even “self-priming” paints benefit from a dedicated bonding primer on slick cabinet surfaces.
- Ignoring temperature and humidity. Paint performs best between 50-85°F with moderate humidity. My garage painting session in August humidity took twice as long to dry.
- Reinstalling too soon. Wait the full cure time before reattaching doors and putting items back. Early use causes dents and impressions.
How Long Does It Take to Paint Kitchen Cabinets?
In case of a typical kitchen (20-30 cabinet doors), an actual work will require 3-5 days to be spread over 1-2 weeks including drying time. The usual breakdown of my day is the following: Day 1 is spent on preparation and cleaning, Days 2-3 are spent on the priming and painting process, and then I need to wait a few days before I can reinstall.
When you are on the job around the dinner table, you have to plan. We also spent a week in a cooler and used paper plates which was an added start of adventure.
Is DIY Cabinet Painting Worth It?
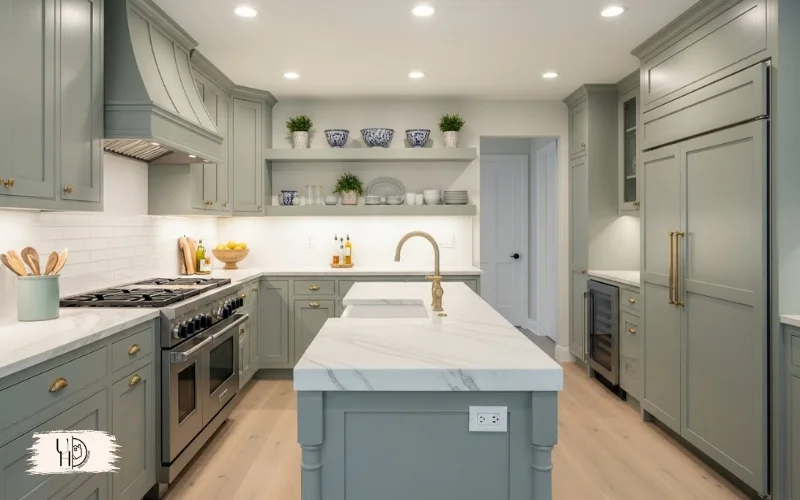
Absolutely, with caveats. You’ll save thousands compared to replacement and hundreds compared to hiring professionals. When done properly the finished product appears to be very professional.
But tell the truth about how patient you are. This project compensates systematic, unrushed effort. Hiring out can save your sanity (and marriage) in case you are the kind of person who wants results today.
Health and Safety Considerations
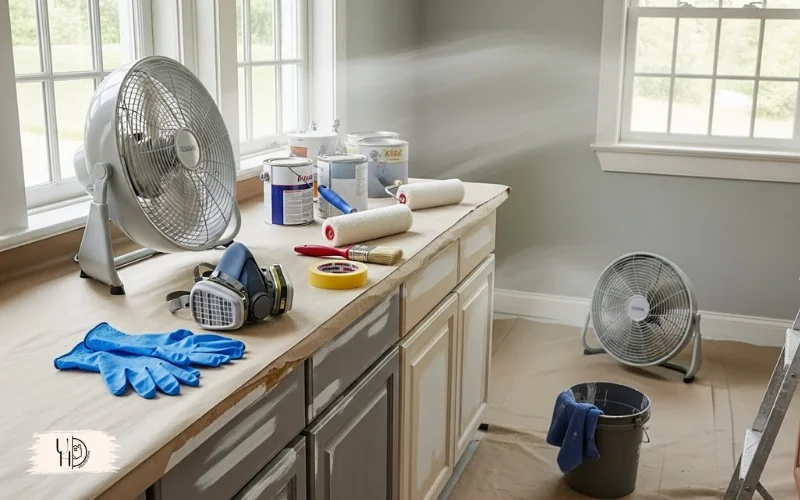
Indoor air quality A brief commentary on the indoor air quality: volatile organic compounds (VOCs) during application and drying. Use low-VOC formulas where available, and make sure that there is adequate ventilation. Keep the windows open, use the fans and think about wearing respirator mask during priming particularly.
Test the lead paint before you disturb any existing finish, especially the finish that was placed on your home before 1978. Lead testing kits are available at hardware store and cost less than 20 dollars and give one the peace of mind.
Final Thoughts
It is really possible to paint kitchen cabinets yourself, and even layers. The trick is to respect the process: clean, prime well, apply thin layers and allow everything to dry out. Leave out either of these stages and you will be having to repeat the job within a year.
However, when you do it the way, you will have a kitchen makeover that has people wondering who your contractor was. The solution to that–yourself–never wears out.
Read Next: Kitchen Renovation Toronto: Step-by-Step Guide to Transformation
